On this page

How to Integrate QuickBooks with Lovat

The L’Invoice & QuickBooks integration helps you automatically send invoices generated in QuickBooks to L’Invoice for fully Peppol-compliant e-invoicing.

Why Integrate QuickBooks with Lovat

By connecting your QuickBooks account to Lovat, you automate VAT calculations and data syncing. This reduces manual work, minimizes errors, and keeps your invoicing fully compliant and effortless.


1. Prepare for Integration with QuickBooks

To start the integration with QuickBooks, go to your Lovat platform and log in using your credentials.

Once logged in:

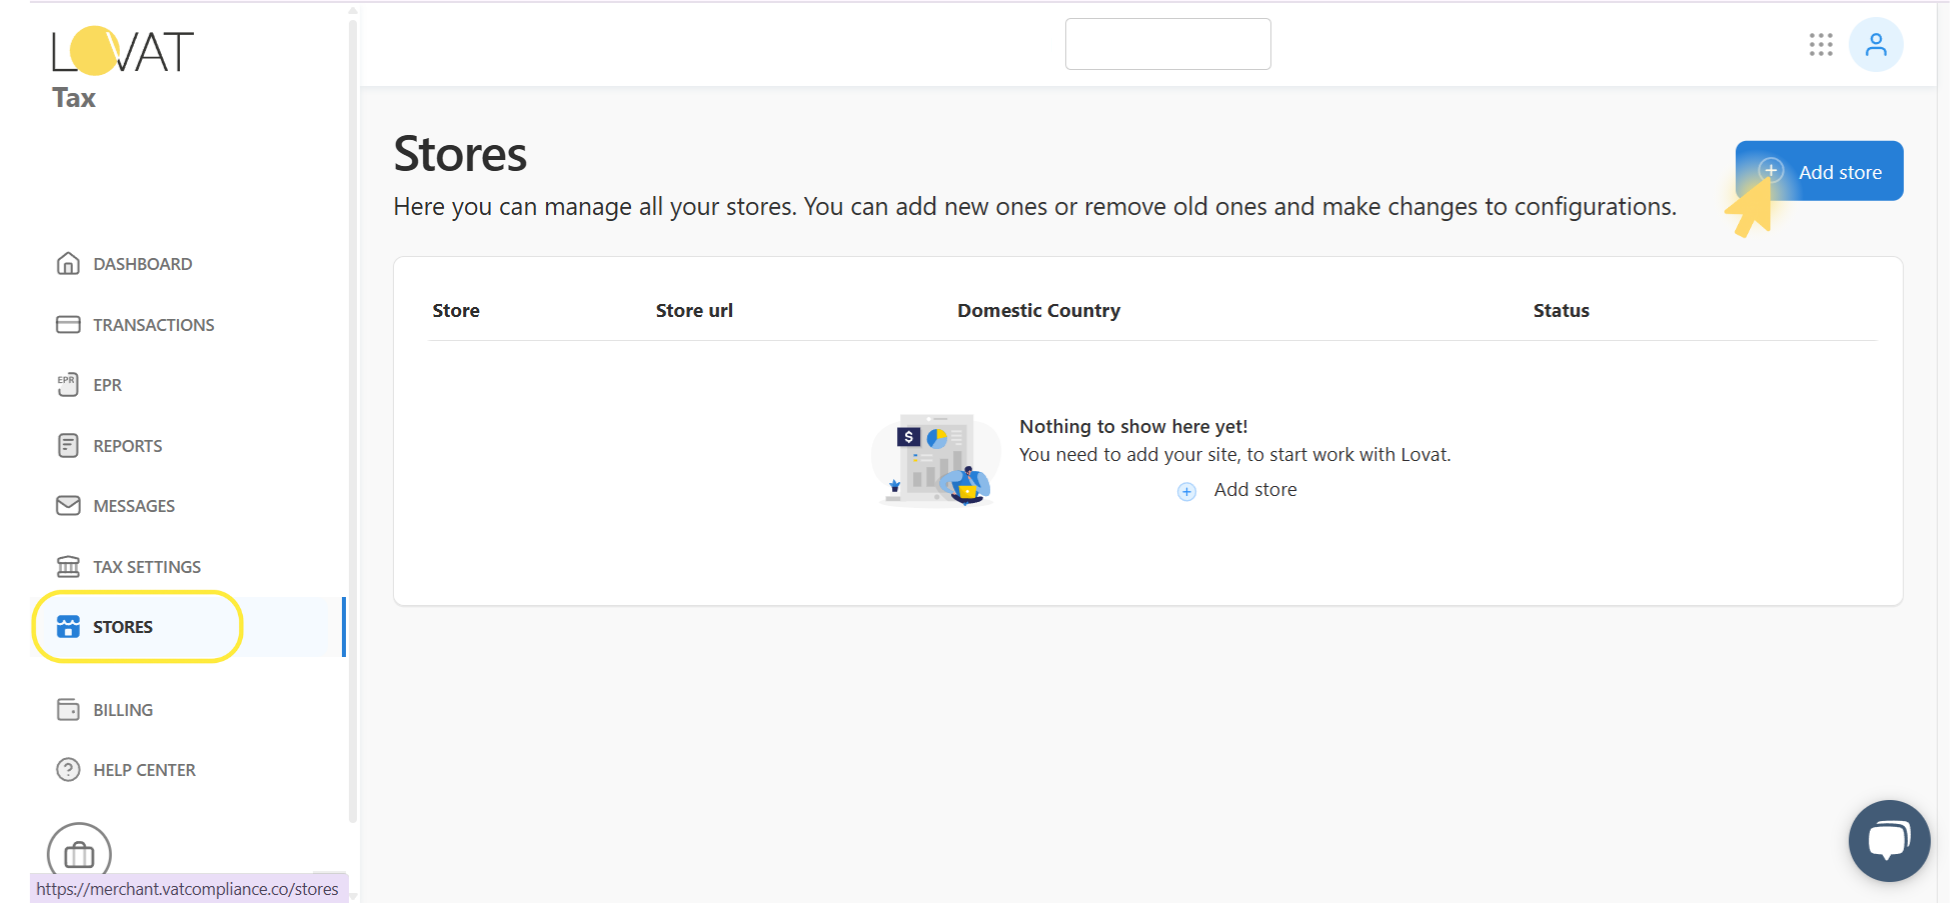
  1. In the left-hand menu, click STORES.
  2. In the top-right corner, click Add store to start setting up the new integration.
Stripe integration guide

2. Connect QuickBooks to Lovat

On the Add store page:

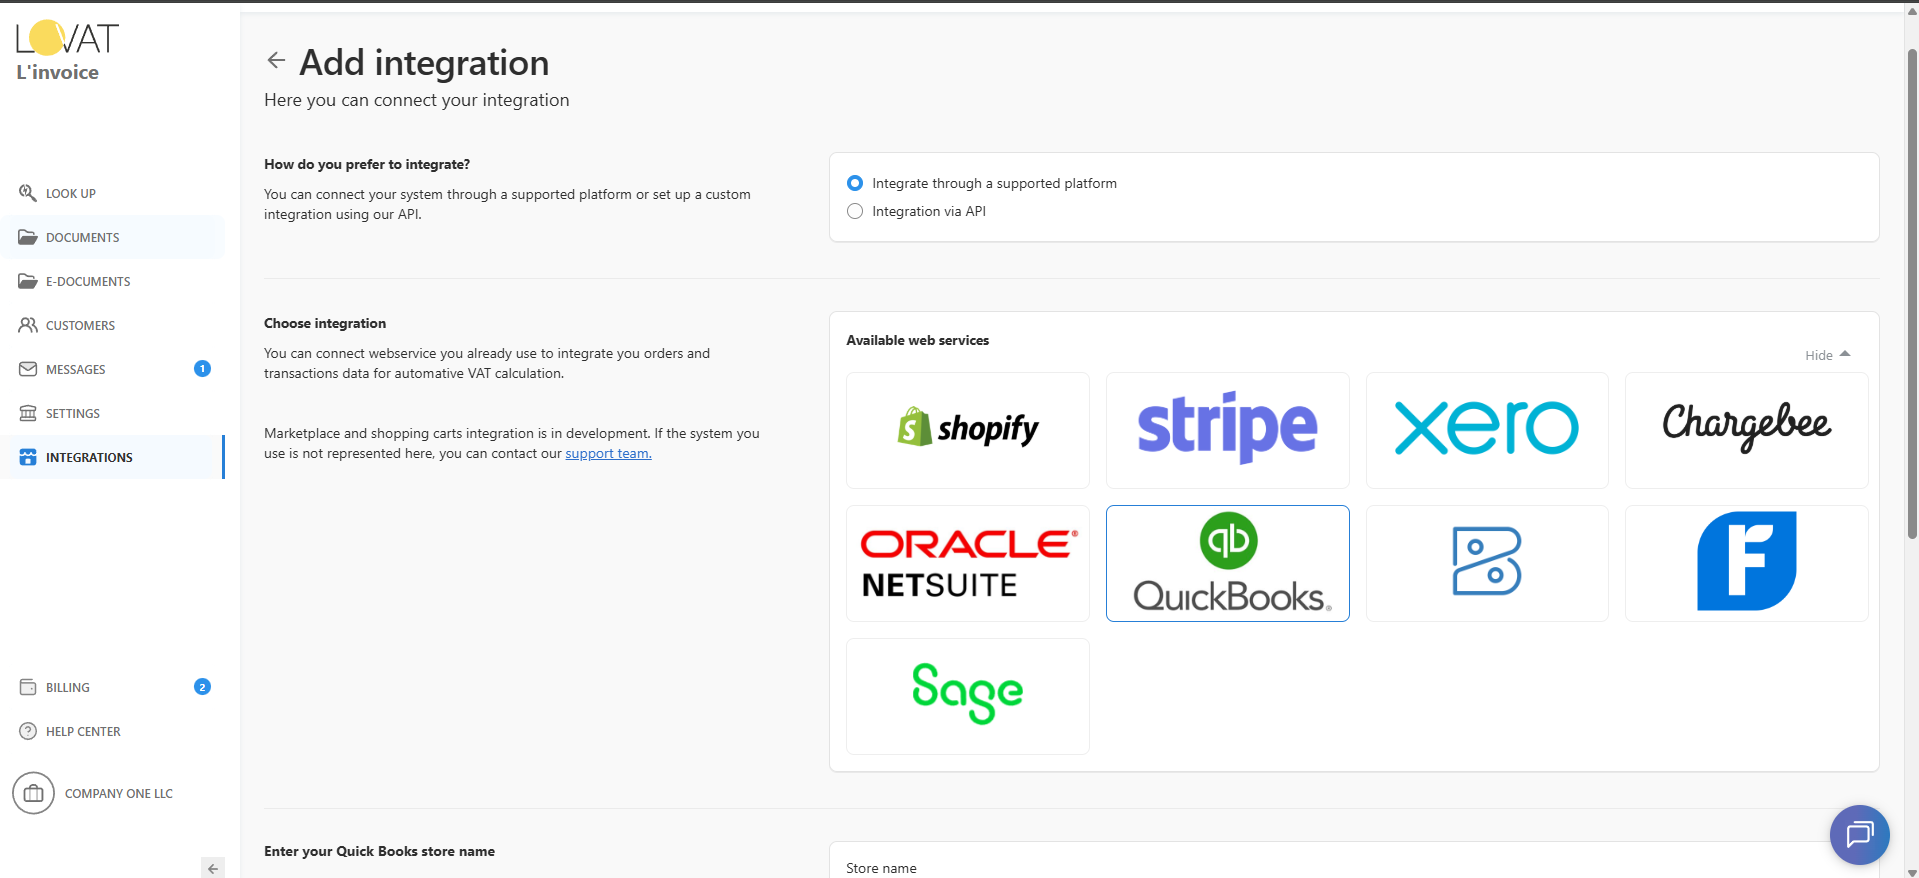
  1. Under “How to you prefer to integrate?”, select “Integrate through a supported platform”.
  2. In the Available web services area, click Show all to view all available integrations.
  3. From the list, choose QuickBooks to proceed.
Stripe integration guide

3. Fill in Store Details

  1. Enter your QuickBooks store name in the Store name field — use a clear name so you can easily recognize this integration later.
  2. Select your Default warehouse country and your Domestic country for tax settings.
  3. After completing all required fields, click Connect store.
Stripe integration guide

4. Log in to Your QuickBooks Account

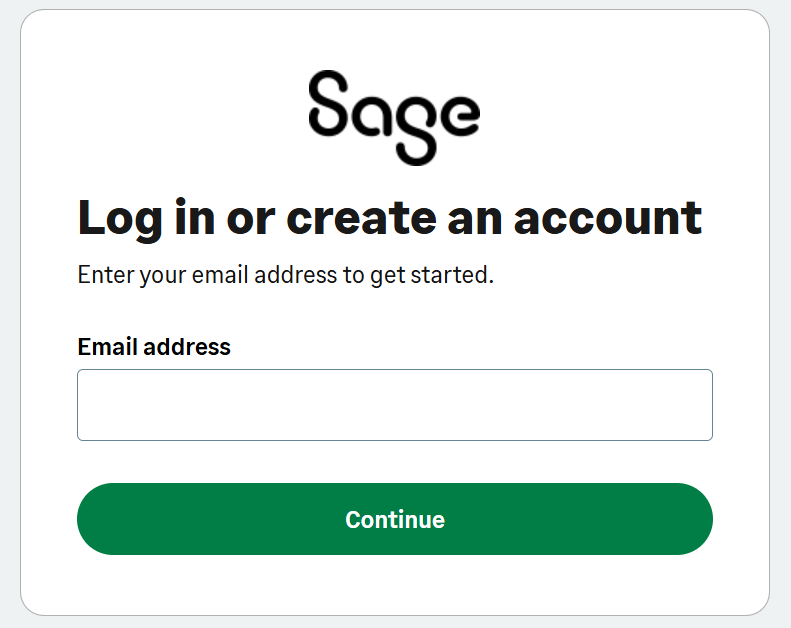
After clicking Connect store, you’ll be redirected to the QuickBooks login page.

  1. Enter the email address linked to your QuickBooks account.
  2. Type your QuickBooks password and click Sign In.
  3. If you don’t remember your password, click Forgot password? to reset it.
Stripe integration guide

You’ll then see a screen requesting authorization for Lovat to access your QuickBooks data.

Typical permissions requested:

  • Company and organization data
  • Invoice and transaction details

Review the requested permissions carefully, then click Authorize to finalize the connection.
You can revoke Lovat’s access anytime in your QuickBooks Connected Apps settings.

5. Integration Completed!

Once authorized, your QuickBooks account is now securely linked with Lovat. From now on, your invoices will sync automatically.

Still Have Questions?

Contact our support team:
📧 support@vatcompliance.co