Lovat API Magento 2 documentation
Integrate your Magento store with your Lovat account. Lovat for Magento app allows you to calculate taxes in Lovat for all sales on your Magento site, and also upload EPR data for your packaging obligations.
There are two ways to install this plugin.
Option 1
- Follow the link https://github.com/LOVAT-compliance/vatcompliance-magento2-api
- Download the archive file.
- Upload files to the app/code folder.
- Enter the following commands into the command-line:
php bin/magento setup:upgrade

php bin/magento setup:di:compile

php bin/magento cache:clean
Option 2 (Install a plugin via Composer):
- Install Composer if it’s necessary.
- Write this command composer require lovat/module-lovat
- Run the following commands into the command-line:
php bin/magento setup:upgrade

php bin/magento setup:di:compile

php bin/magento cache:clean
You have installed and configured the plugin successfully in Magento2.
After successful installation of the plugin you need to complete the following steps:
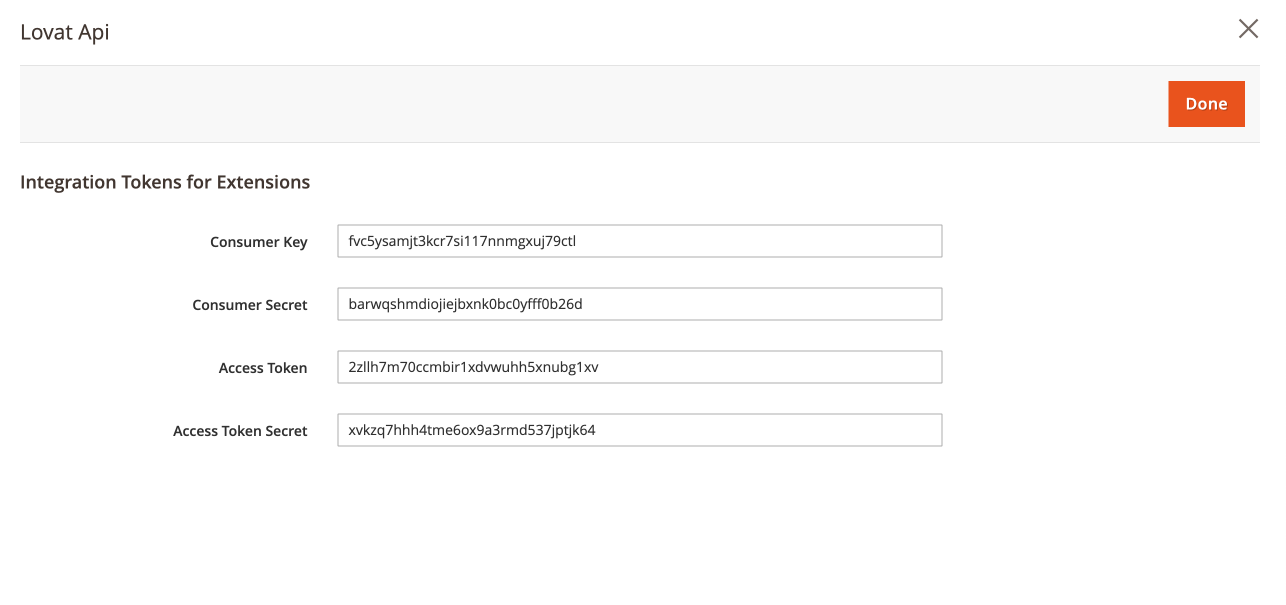
- On the Admin panel, click System. In the Extensions section, select Integrations.
- In the upper-right corner, click the Add New Integration button and complete all information.
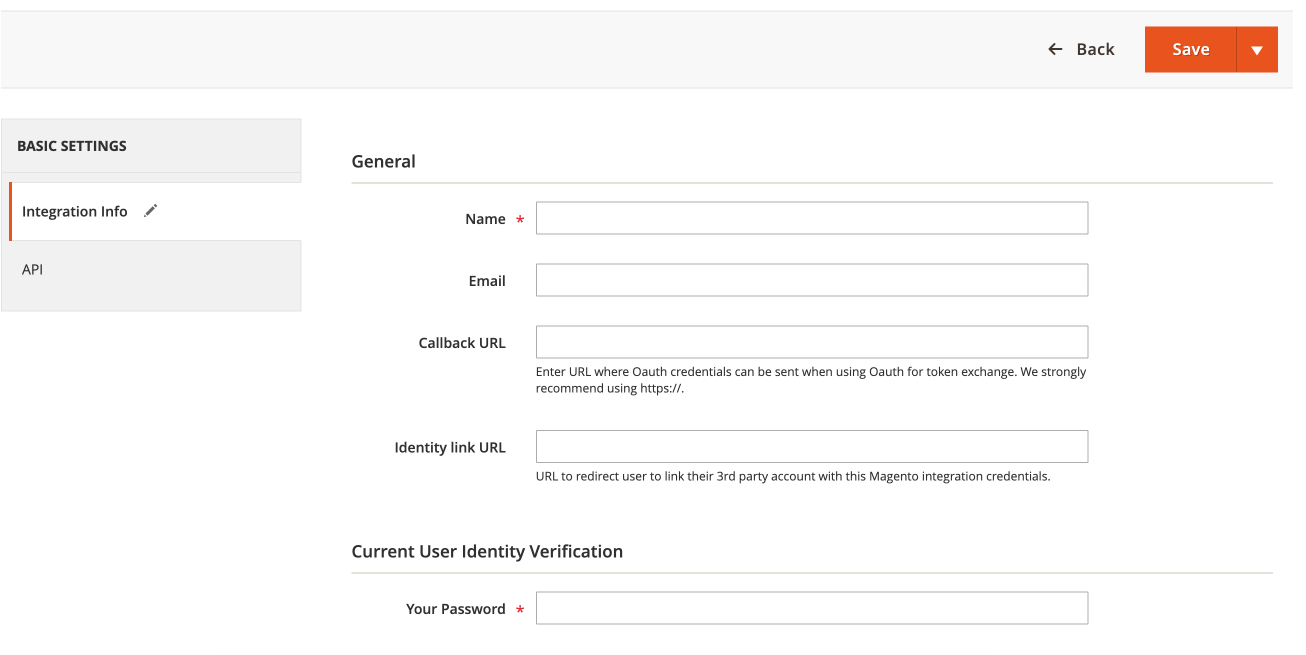
*Please don’t fill these fields Callback URL and Identity link URL
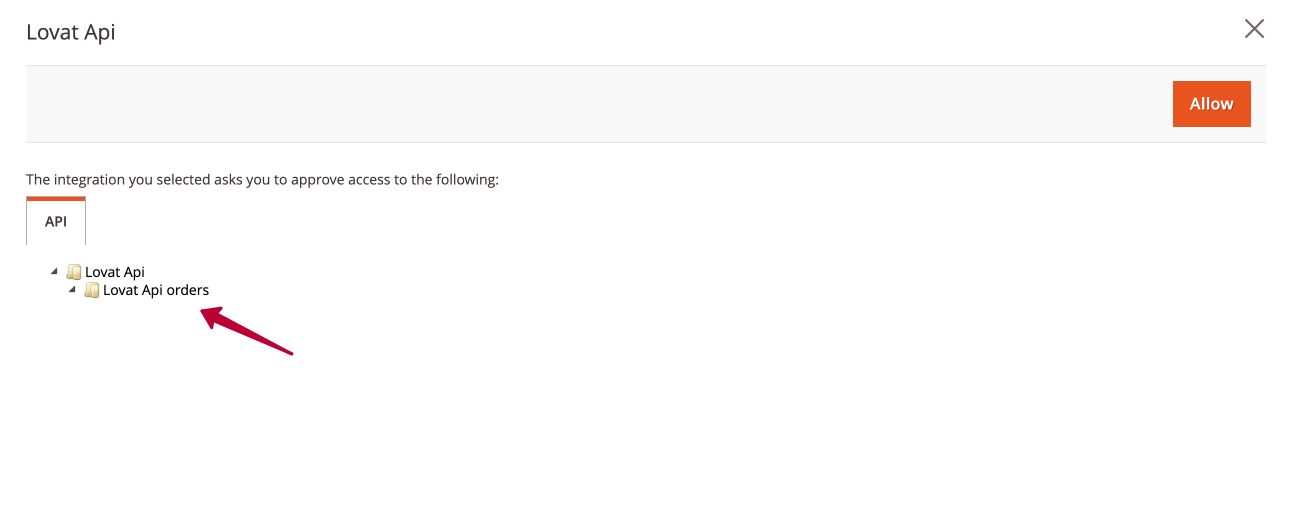
3. On the Admin panel choose API section.
4. Choose “Lovat Api” and mark the checkbox of this resource.

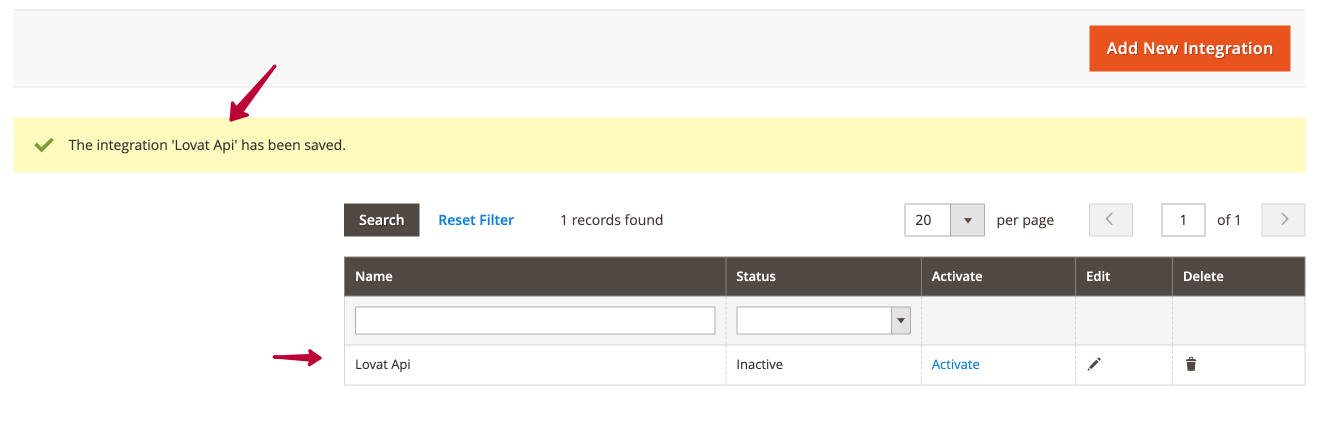
5. When complete, click Save
After successful adding of the integration you need to activate it. Do the following:

How to enable tax calculation feature using Lovat plugin
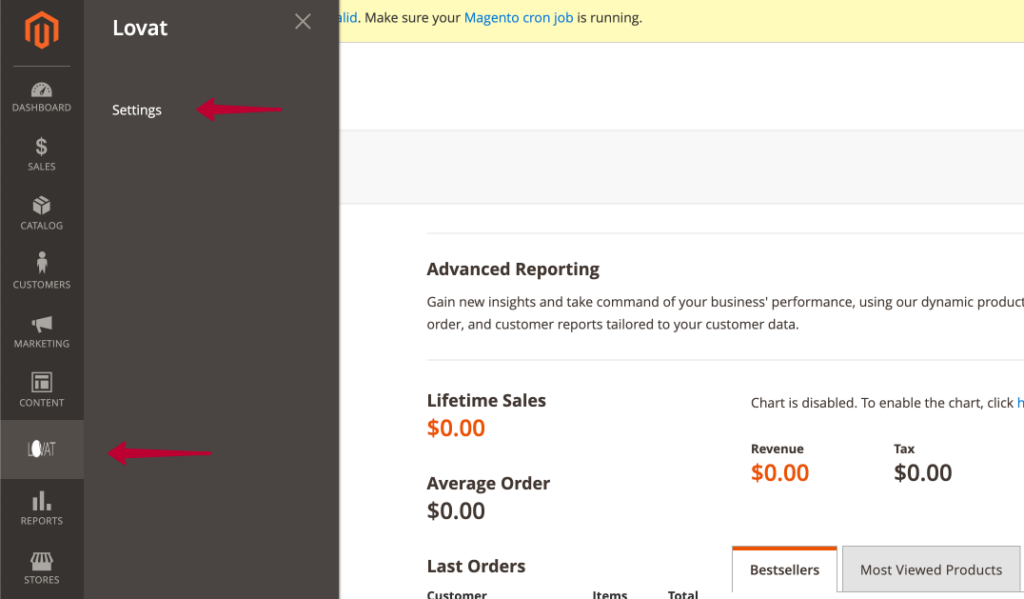
- Open Settings section and click on the Lovat icon.
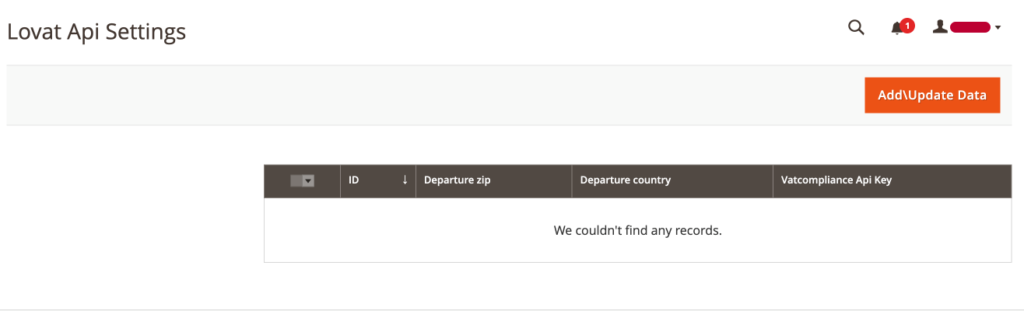
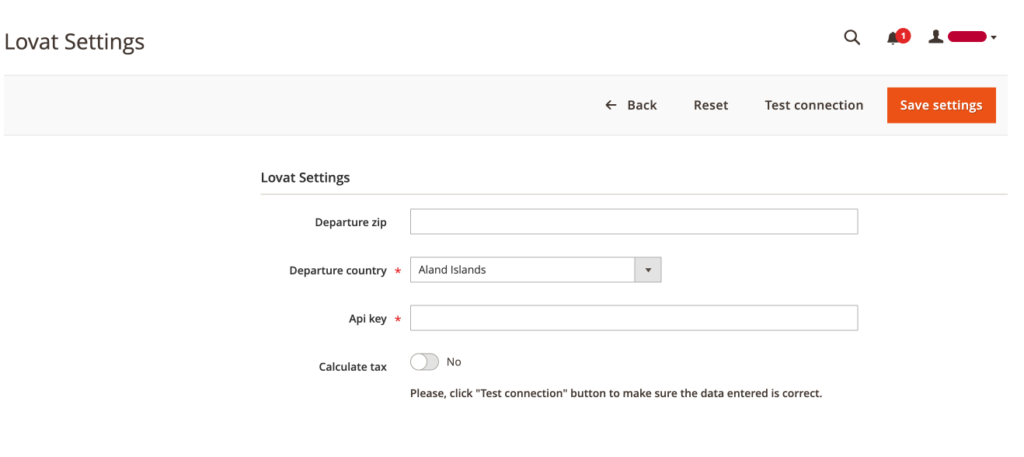
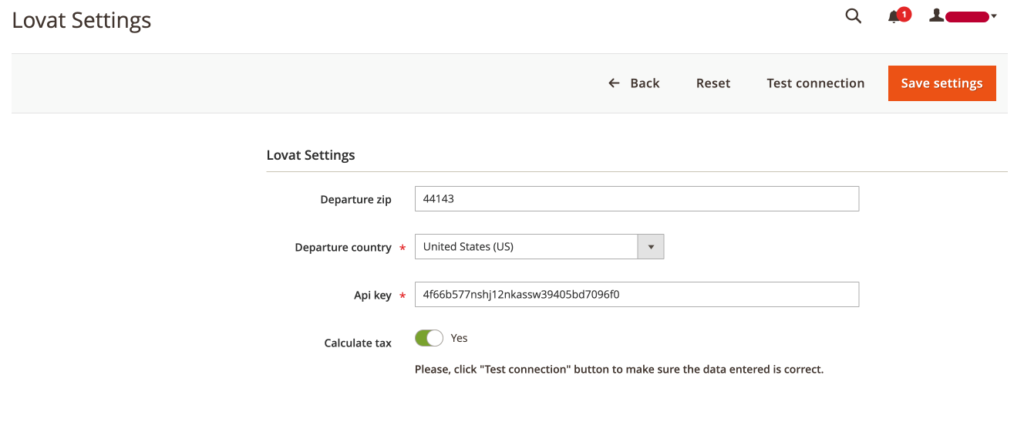

4. If you’d like to edit your data in the table, click Add/Update data button again. And you’ll be redirected to the Settings section.
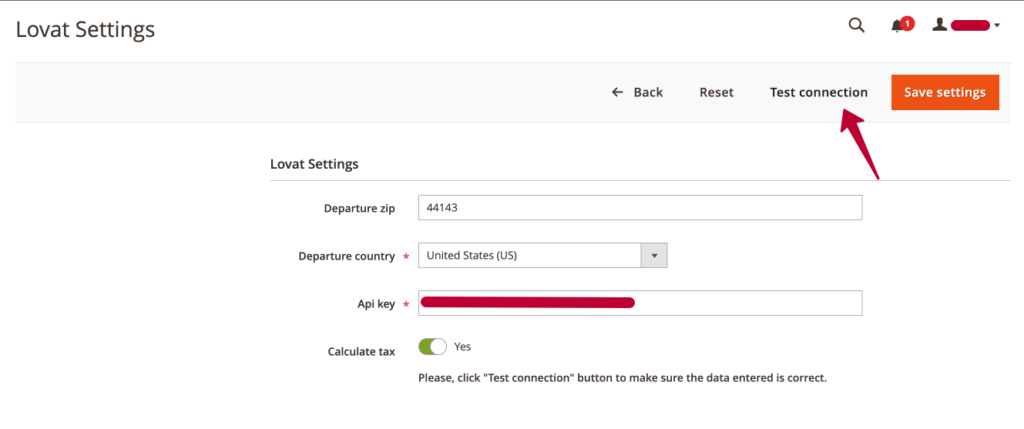
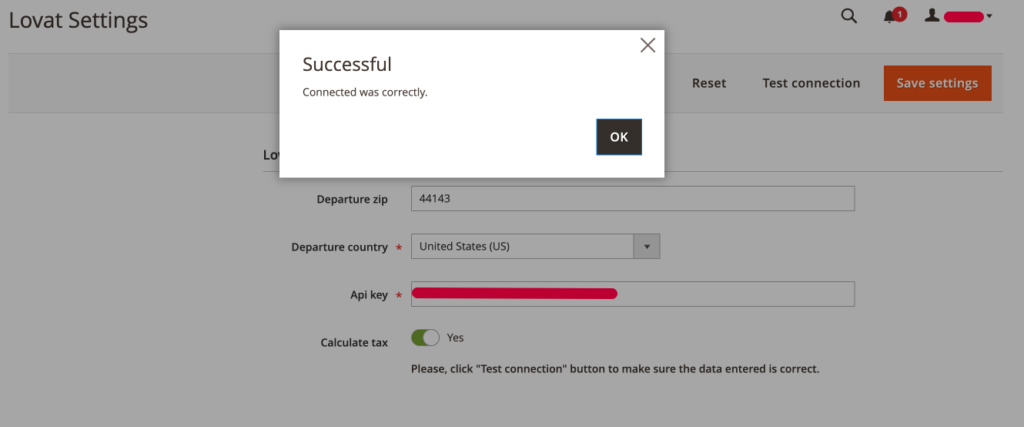
*When you edit the data, click the button Test connection and then save results.
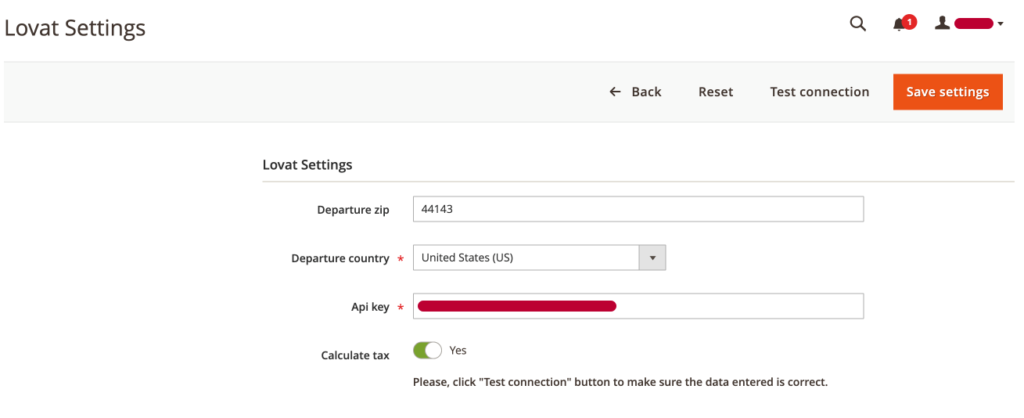
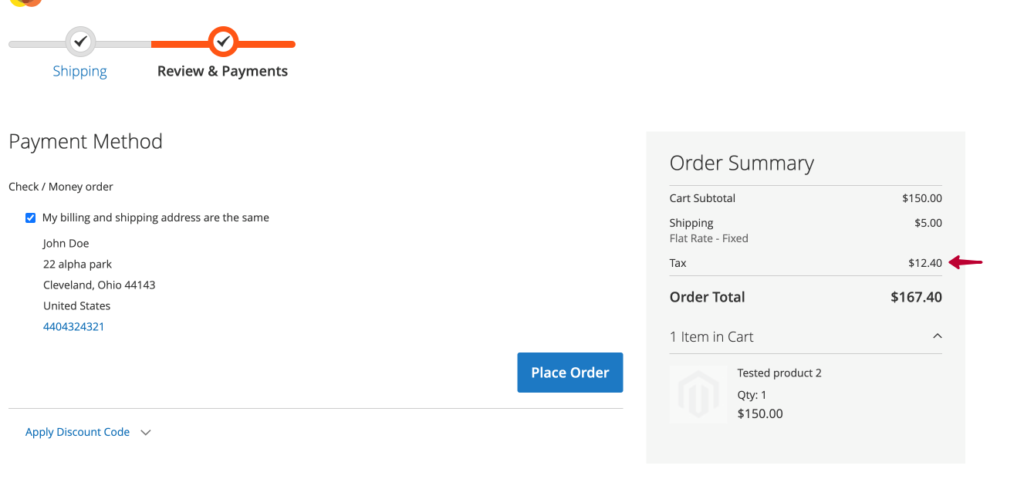
5. If you have transactions, your taxes will be calculated.
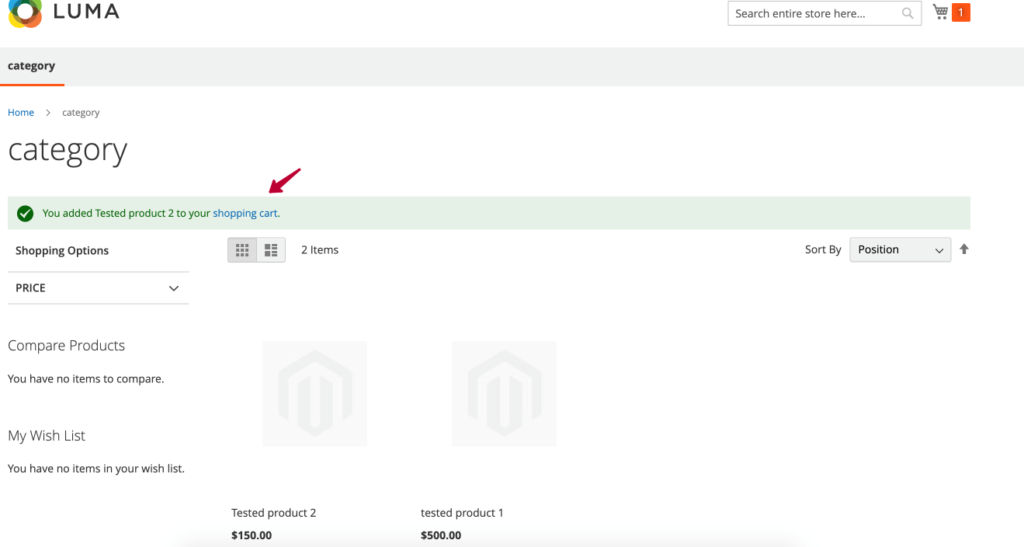
Your product is added to the shopping cart. We don’t calculate tax on the checkout page because we wait when the client fills in data. When the client fills in his ZIP code and Country on the Checkout page, your tax will be calculated.