How to integrate Chargebee with Lovat
Want to connect your Chargebee store to Lovat?
Just follow these simple steps to generate your API key and complete the setup.
2. Connect Chargebee to Lovat
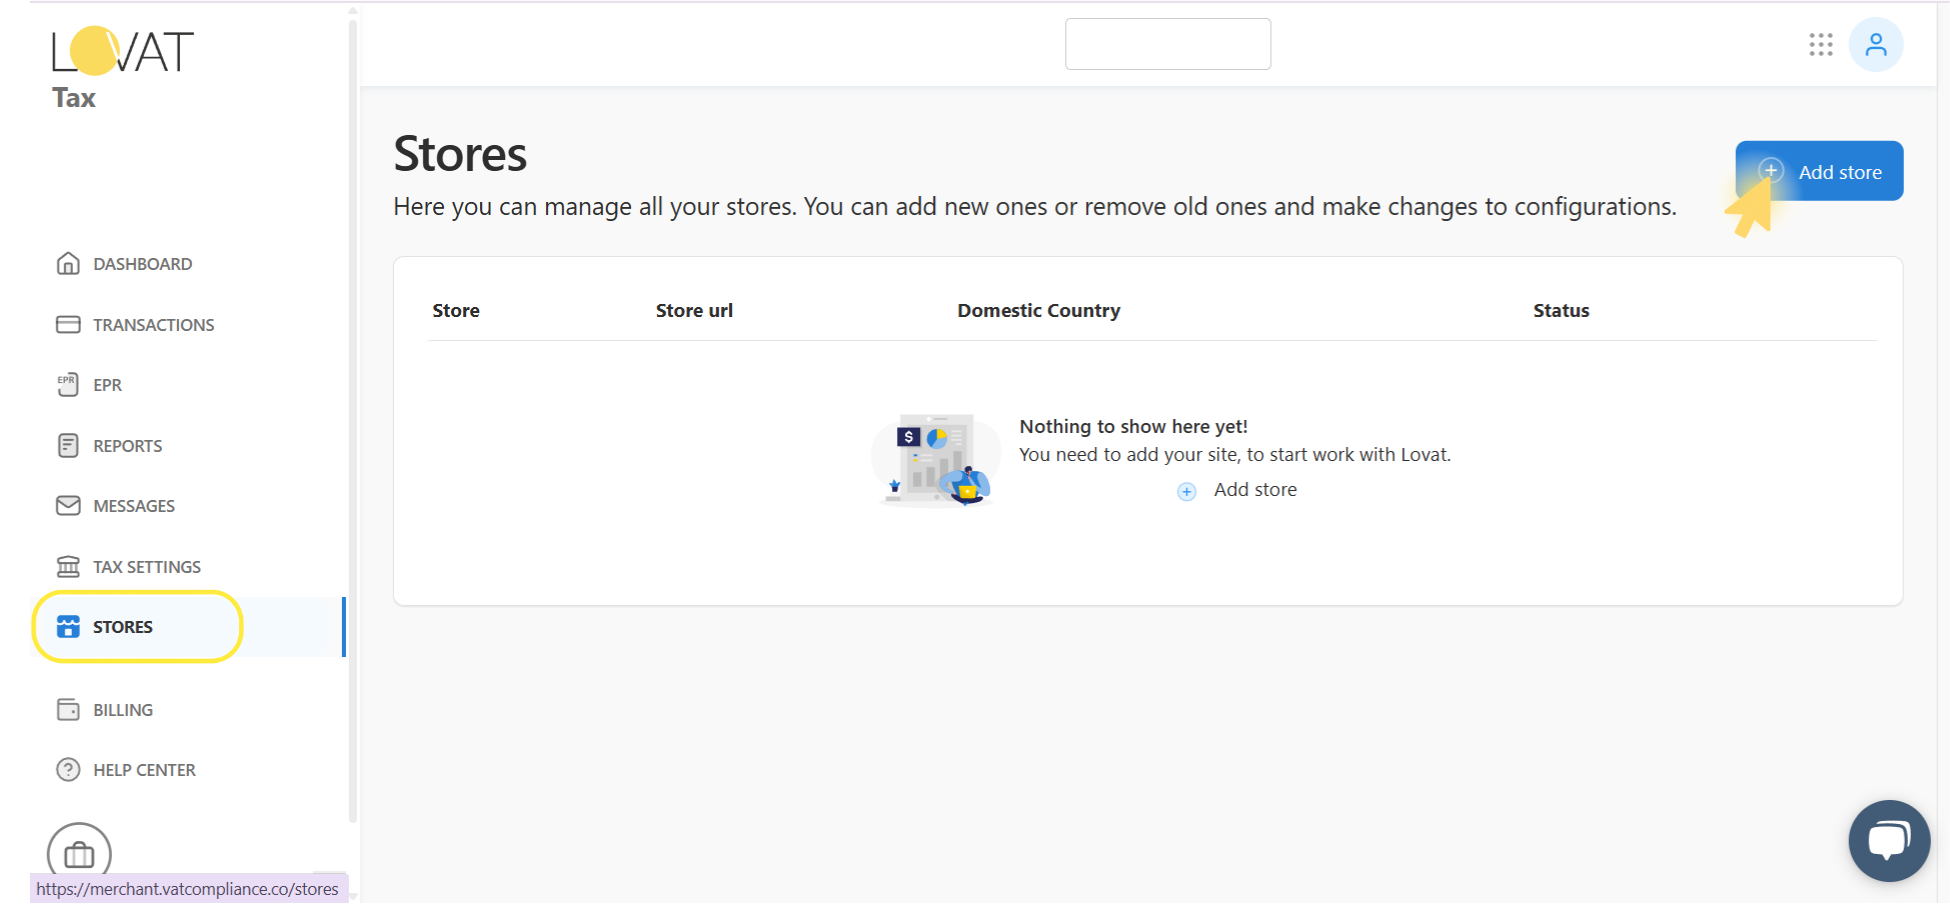
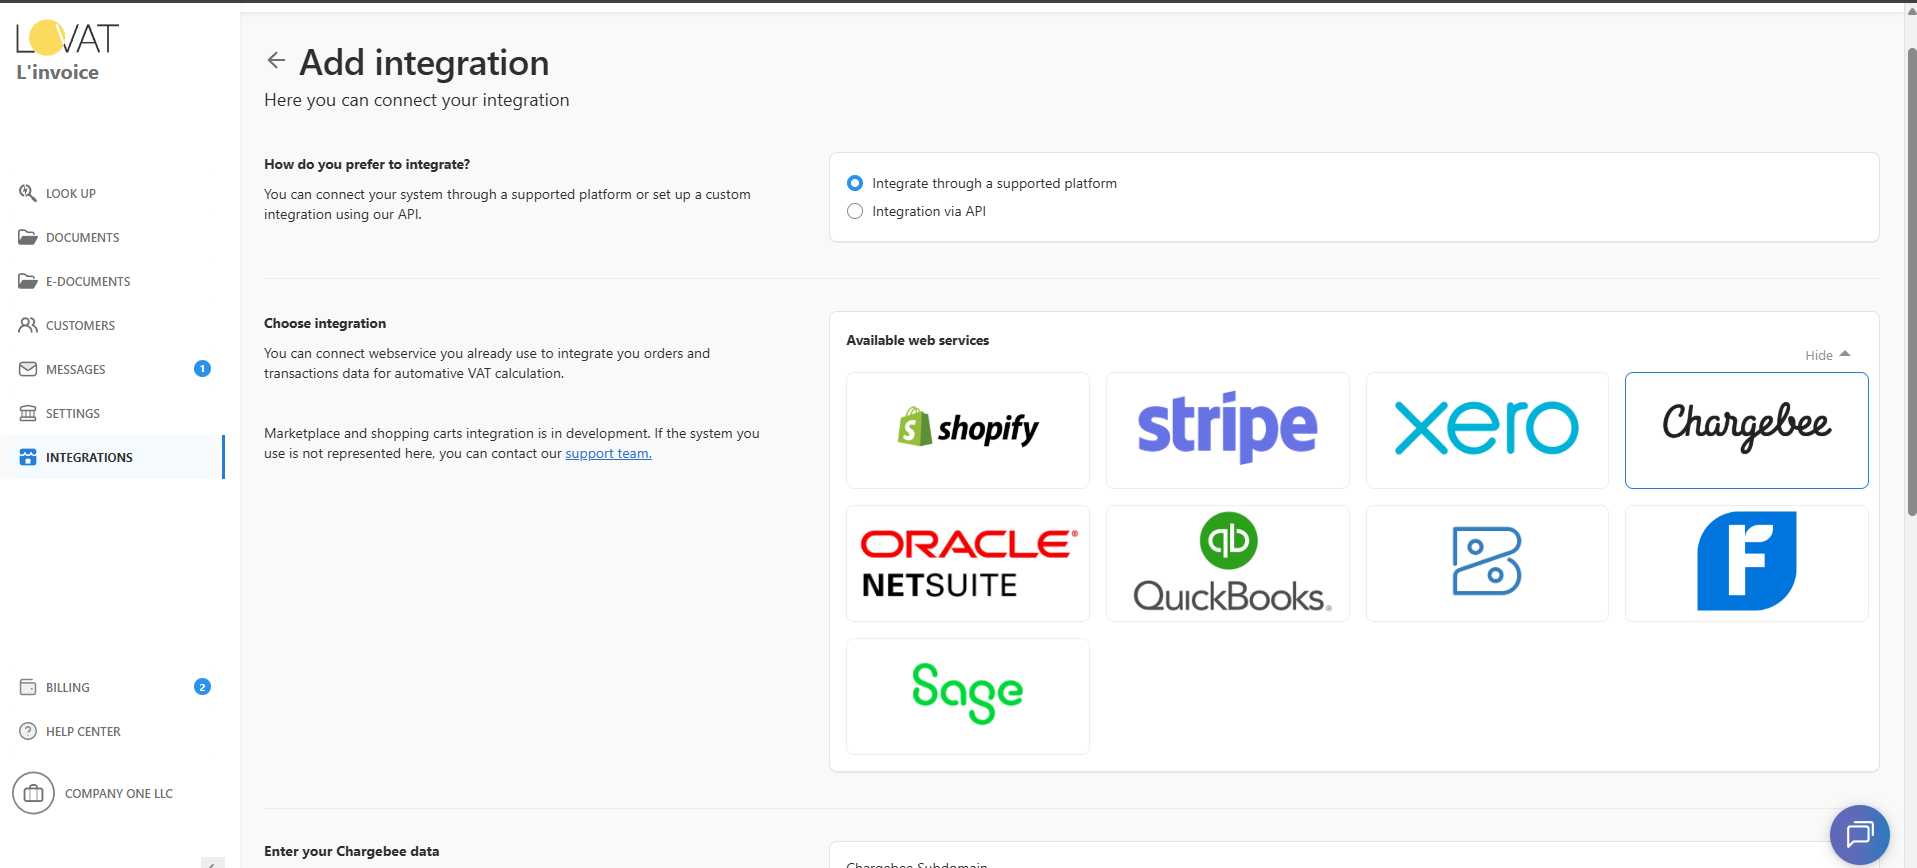
On the Add store screen, specify how you sell:
- Under “How to you prefer to integrate?”, select “Integrate through a supported platform”.
- In the Available web services section, click Show all to view all integration options.
- Choose the platform you want to connect (in our case — Chargebee).
3. Enter subdomain and store Information
To proceed, you must enter:
- Chargebee subdomain
This is the unique prefix of your Chargebee URL, e.g. if your URL is yourcompany.chargebee.com, your subdomain is yourcompany.
If you don’t have a Chargebee account yet, register here.
- Store name
Enter a custom store name for identification in the Lovat dashboard.
4. Create and add API Key
Now you’ll generate a Full Access API Key in Chargebee:
Step-by-step:
- Go to your Chargebee dashboard.
- In the left-hand menu, click Settings → Configure Chargebee.
- Scroll down to the API Keys and Events section.
- Click API Keys.
- Click the Add API Key button.
- Choose Full-Access Key.
- Under permissions, select All.
- Name your API key (e.g. full_test1).
- Click Create Key.
- Copy the generated API key string.
Paste the API key into the corresponding API Key field on the Lovat platform.
5. Integration with Chargebee completed!
Your Chargebee store is now successfully connected to Lovat.
From now on, your Chargebee data (subscriptions, invoices, transactions) will sync automatically for tax calculation and compliance reporting.
Still have questions?
Contact us support@vatcompliance.co


